Sunday, 1 November 2015

Storyboards | Workshop

In the storyboard workshop we learnt how a storyboard should be laid out, what needs to be in a storyboard, and what important information we need to add below the image.
 
Storyboards are the sequence of shots that you see in a film, used to visualise the action in a story. Storyboards are used in the pre-production stage of creating a film or TV show as a guide to filming the shots they want to use. Soap programmes such as EastEnders tend to use a shot list instead of a storyboard as it's easier to follow.
The drawings that visualise the shot are usually shown in black and white and can either be done in a lot of detail or stick men and basic details. I have created my own storyboard for the first two minutes of my short film, as well as creating a shot list to help when it comes to filming and editing.


Casting | Production Notes

When choosing actors to act in the first 2 minutes of my short film I had a few ideas of what I wanted both characters to look like. I was looking for someone to play my male character, Steven, and my female character, Clare. Both needed to be teenagers, or at least look young enough to be teenagers.

Steven, played by Dan Frank:
 
I wrote Steven as a brown haired guy wearing a casual top, jeans and a big coat to almost hide his outfit in the woods. The actor I used had the right coloured hair for the part while also wearing the correct clothing items. The actor was 17/18 years old which conformed to the age group I wanted to show in the film. 

Clare, played by Jamie Podesta:

I originally wrote Clare as a blonde haired girl wearing a casual top, jeans and a black jacket. The actress I used actually had brown hair, but when picking my actress I decided that the hair colour for the female character didn't really matter as long as it was quite long and well kept. At first I wanted a brown haired character and blonde haired character to contrast with one another, but then I thought that if they had the same hair colour, then it would show that they have something in common which would help foreshadow the whole story. The actress was 17/18 years old which conformed to the age group I wanted to show in the film. 

Both actors knew each other pretty well before filming so they already had some sort of chemistry when it came to filming. Looking at my footage, from the shoot, I can see that I made the right decision in actors as they help create the build up to the story and they both did a very good job. 


Friday, 30 October 2015

Putting Shots Together | Workshop

For this editing workshop we were given a folder of shots from a tv programme and we were told to put them together according to the audio from the footage. The audio of the clip is the same in each shot so it wasn't too difficult when putting the different shot types together. However, there were a few shots where the audio was slightly different due to the way the actor or actress was saying the line. There were a variety of shots that were given to us and we had to use what we thought was appropriate. There were close-ups, mid shots, two person shots and more. 


When starting the edit we were told to start with a particular audio clip to help us put together the rest of the shots given. We needed to match the audio with the video for some of the clips, which meant that the editing was challenging. I found that the male character said his lines differently in the majority of the different shots. For example; in some shots he said his lines quite slowly and in others he said his lines quite quickly. I found the matching of the audio and the video quite tricky for his parts as his lips didn't actually match up to the audio. 


I managed to find a way round the audio and the video not matching 100% and I think it's worked well. Also in this lesson we were told that it would be useful for us to put the shots into bins. This makes the workspace a bit more organised and also it will help us know where all of the shots are when editing. When I start to edit my own clips I will put them into separate bins so I can have an organised workspace/


Thursday, 29 October 2015

180 Degree Rule | Workshop

Our last camera workshop was all about the 180 degree rule. 
We were put into groups of 3 and we were given a task to do for the workshop. Within this task we were given a script to follow and we were told to use a minimum of 5 different shot sizes, while also sticking to the 180 Degree Rule.

The 180 Degree Rule
When your filming there is an invisible line that your not allowed to go over. If you start filming on the left side of the line you aren't allowed to film on the right side, as it will distort what the audience is seeing.

I was put into a group of Lindsay and Sammi and I decided that I wanted them both to sit with each other and have a conversation, following the script. To make it a bit more interesting Lindsay had the idea that she would hide behind the chair at first and then appear once we had started filming. I wanted to start with a long shot to set the scene, and then throughout the script I used some mid shots, a 2 person shot, and multiple close-ups of both characters. 

I found this task fairly challenging as I had to think of 5 different shot sizes that would look effective in the video, but I had fun doing it and also I think the editing of this video looks good. The audio matches up with the video and it flows nicely.


Monday, 26 October 2015

Premiere Tools | Workshop

Within this editing workshop we were given some information and instructions on how to use some of the tools on Adobe Premiere Pro. We were told which tools were the most useful when editing and how to use them effectively.
 
 
We learnt about the difference between overwriting footage into the timeline and inserting footage into the timeline. Overwriting footage is when it goes on top of the footage already on the timeline and inserting footage is when it goes in between the footage already on the timeline. We were taught how to insert audio onto the timeline through the tools on the software.
 

Again, we were given a set of clips and audio, and we were given the task to put the clips together in order of the footage. It was our decision in what order all the clips go in, so we had to listen to the audio carefully and judge where all the images go, and we were told to use the tools that we had been taught previously.

We were also taught how to add text into our sequence and how to make it transition in and out of the scene. This will be useful when it comes to adding a title to my short film, and when I add credits of the actors and so on.

 
The tools we were taught about are going to be very useful when it comes to editing my video, and I will definitely be using the majority of the tools that the software has to offer.


Wednesday, 21 October 2015

Trailer | Workshop

When learning about Trailers we were given the short film 'Soft' and we were given the task to turn it into a trailer. This trailer was to sell the movie and make it look attractive and eye-catching to get the attention of an audience. This is the trailer that myself and Lindsay created:


When creating the trailer we didn't want to give away too much of the story so we decided to watch the short film and overwrite little sections of the film onto the sequence on Adobe Premiere Pro. We did this so once we had all of the clips we wanted to use in the timeline, we could place them in the order we wanted. We wanted to create some tension towards the end of the trailer, so we decided to quicken the pace of the cuts towards the end of the trailer to build it up and make it more interesting. 

We really liked the clips in the film that have been filmed by the dangerous gang, so we made sure to involve as many of them in the trailer as possible. One of the parts of the trailer that I like is where the neighbour says to the main character "lovely day" and then the following clip is the leader of the gang punching a young boy. This creates a contrast in the trailer and makes it more interesting for the audience to view. This will attract the audience and make them intrigued which will convince them to watch the film.

We inserted a few seconds of the most dramatic scenes in the film and grouped them together to create tension and build the storyline to make the audience want to see more. The music we used within the trailer is quite dramatic and creates tension. We chose this instrumental background to help add to the tension and build up the trailer in a dramatic way. I think the music will catch the audiences attention and they'll want to watch the full short film after watching the trailer.

Overall, I enjoyed this task, but I also found it quite difficult. I found it difficult because it was challenging to find the most effective clips and to put them in the correct order to make it interesting without giving away too much of the story.

Location | Project Research

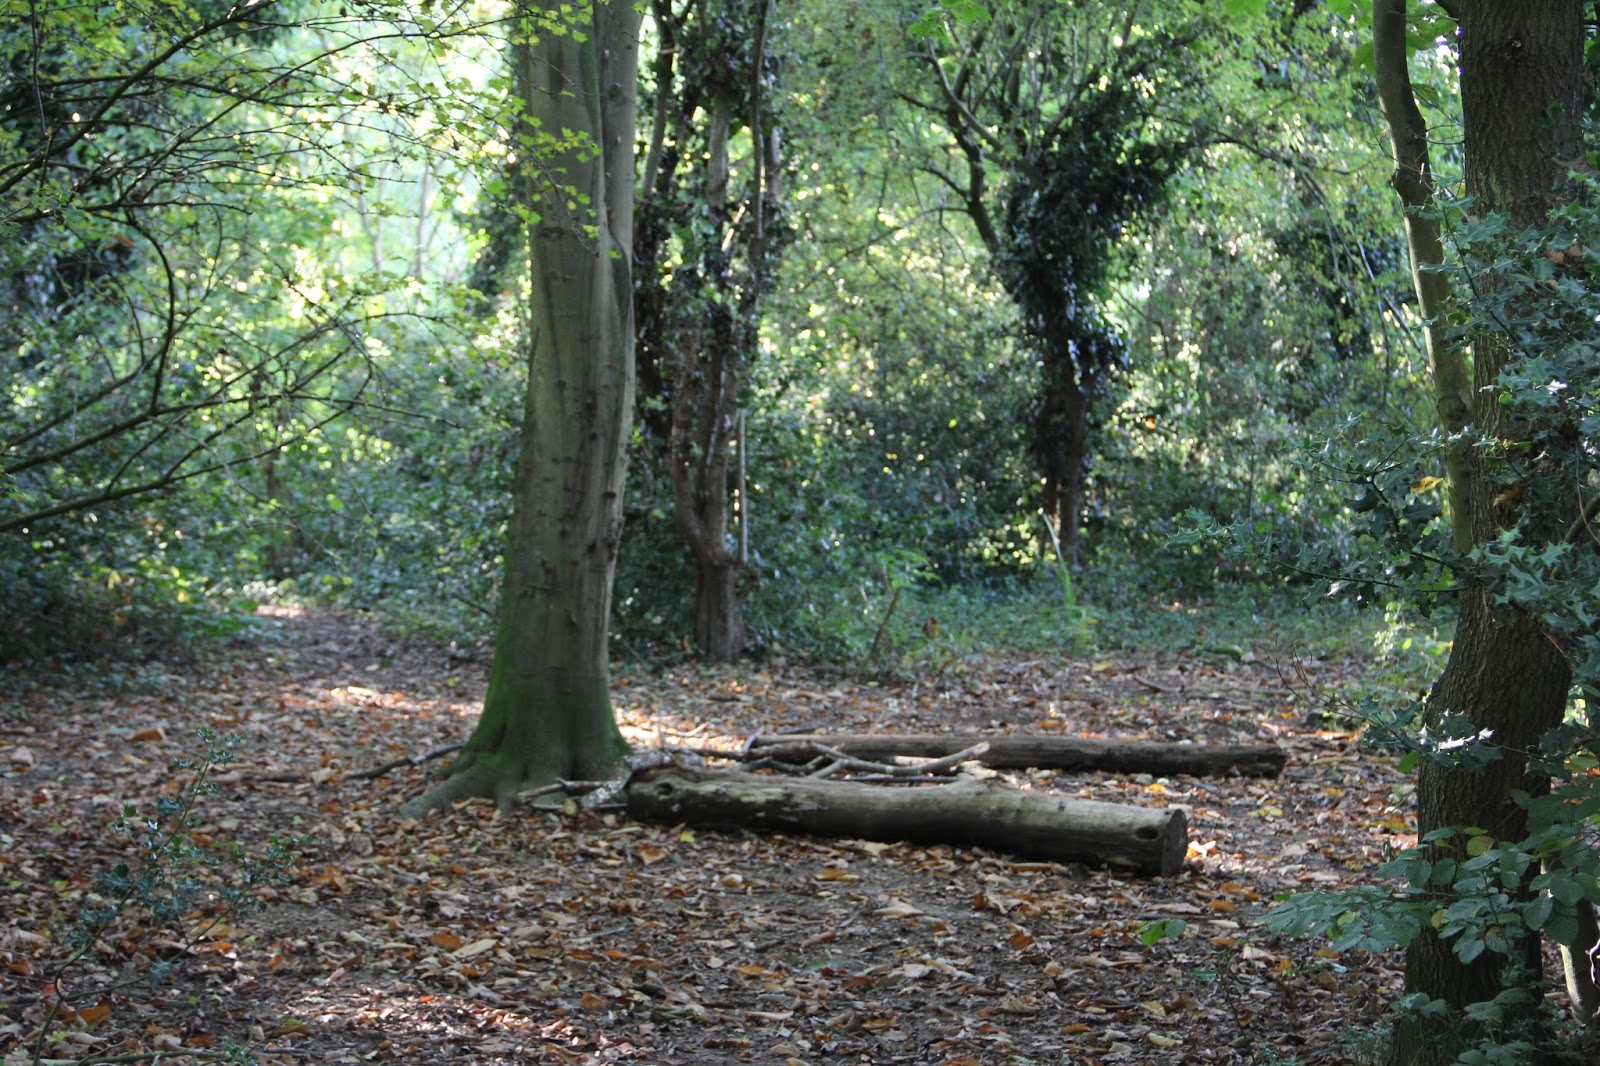
When deciding what location to use when filming my opening scene, I needed to find a woods location. I had one in mind and decided to go and take a look at it, to help me write my script with the  specific location in mind.

There are two entrances to this woods, one from the street and one from the back of Wigmore Library. There is quite a lot of trees and bushes around, but not so much that it makes the sky un see able.


The woods itself is fairly large, and there are many different areas in which I could film.  For example; there are a few logs that would be ideal if I wanted the characters to be sitting down. The woods is very spacious, while still having quite a lot of trees around. This is good as when it comes to filming the 2 minutes I won't have to worry about it looking to busy. I want to make sure my location looks quite simplistic so the audience can focus on the storyline, rather than the settings they are going to be stood in.


The woods itself is quite pretty and would work really well in my short film. The theme of the film isn't anything scary or thriller like, and I think this woods area isn't too scary either as it's quite open and bright during the day. This is one of the reasons why I liked this area and why I want to film the first 2 minutes of my short film here.